The Best Transfer Methods for Watercolour Artists
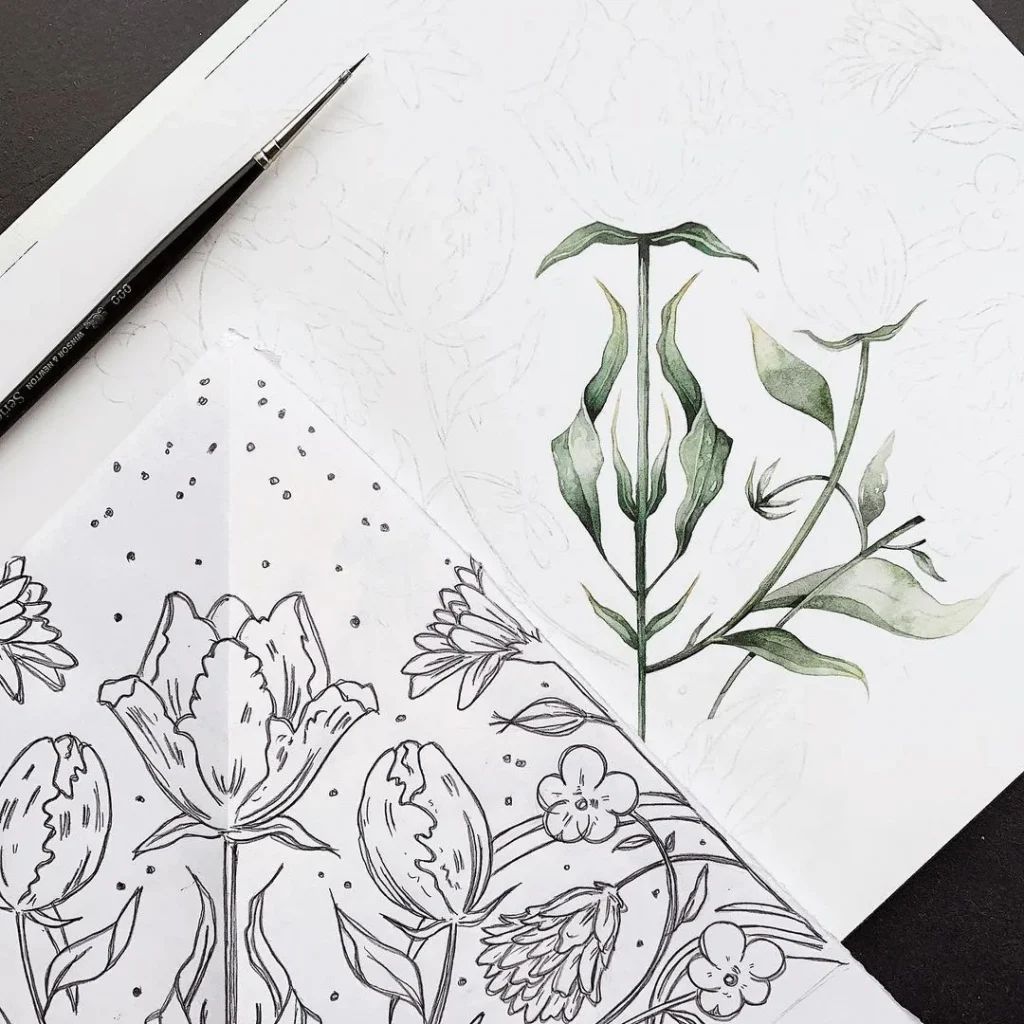
Watercolour paper is surprisingly fragile – erase too much, or draw too hard, and you’ll damage your paper. After nearly twenty years of working with watercolours, I’ve reached a stage where I never draw directly on my watercolour paper. Instead, I use plain, cheap, plentiful printing paper. All you need is a transfer method – an easy way to get that drawing from your printing paper onto your watercolour paper, ready for your painting to begin.
Why not Draw Directly on Watercolour Paper?
Watercolour paper is expensive and surprisingly delicate. Excessive pressure – either from a pencil or eraser – can permanently alter the paper’s texture. Watercolour paper also has something called ‘sizing’: a treatment that helps the paper absorb water and keep watercolours looking vibrant. Disrupting the paper’s finish can impact the appearance of your colours, affect paint drying times, and impact the final appearance of your painting.
As watercolour paper is both expensive and sensitive, I always recommend drafting your designs on cheap, forgiving printing paper before transferring your finished piece onto watercolour paper. It gives you the creative freedom to make changes and make mistakes, without panicking that you’re ruining the paper you’ll be painting on.
method one:
Use a Lightbox
A lightbox (also sometimes called a light table) is a large, flat light that is placed on a table. Artists then work on top of this light – you simply put a drawing on the lightbox, and then put a new sheet of paper on top of it. The lightbox shines through both sheets of paper, so you can see the lines from the first drawing shining through the new piece of paper. This allows you to trace whatever lines you’re happy with, and free-hand the rest.
Lightboxes are especially popular with animators and illustrators who need to make small, exact adjustments to an earlier drawing. Famous artists, like Quentin Blake, use lightboxes to help them perfect important commissions.
There are a few drawbacks: lightboxes are expensive, and you need someplace to store them. They can also only shine through so much paper – so if you’re working with two layers of thick paper, this technique may not work.
At Home Alternatives:
You probably don’t realise you already have at least two light boxes at your finger-tips. In fact, you’re on one right now.
Your mobile phone / tablet / laptop screen:
You can use your mobile phone, tablet or laptop screen as a lightbox. Simply take a photo of the drawing you want to rework, or the photograph you want to trace. Up your screen brightness as much as possible, and then place a piece of printing paper over your screen. Your design will shine through, allow you to gently trace it with a pencil onto your printnig paper. Be careful not to press to hard. You don’t want to damage your screen!
Your windows:
The other lightbox might surprise you – in the day, your windows are natural light boxes. The sunnier the day, the more efficient this all-natural lightbox will be. Just take the design you want to trace, and tape it to the window pane. Then put the piece of paper you want to transfer it onto on top. Voila! Instant lightbox.
method two:
Carbon Paper
Carbon Paper is a sheet of paper made with carbon that allows patterns to be transferred from one sheet to another. You’ve probably used carbon paper before – either in your art class, or if you’ve ever had to sign an important document that imprinted your signature onto the sheet below it.
Carbon paper is an easy option, as you can sandwich the carbon paper between your finished drawing and your watercolour paper, and all you have to do is trace over your drawing. However, don’t press too hard, or pull the carbon paper across the watercolour paper. Pressing too hard can leave you with lines that are very difficult to erase, and pulling can leave a thin layer of carbon behind, greying your paper. Carbon paper also represents a cost – which is why I infinitely prefer the method below….
method three:
DIY Carbon Paper
This method is the best transfer method of all three, and is my all-time favourite – all it requires is five minutes, a pencil, your printing paper, and your watercolour paper. I much, much prefer these results to the ones I get with traditional Carbon Paper.
Here’s how you do it:
- Pick a piece of paper to draft your design on – this can be done on a piece of printing paper, a scrap of lined notepaper or even the back of an old bill.
- Once you’re happy with your design, flip the sheet of paper over. Make sure you don’t have your watercolour paper below your drafting paper.
- Take your pencil and then shade the reverse of your design. Make sure all the lines are fully covered with pencil underneath.
Best Advice: If you’re struggling to see your design through the paper, don’t fear; simply place your paper against a sunny window pane and your design will shine right through. If it’s nighttime and you have a laptop, simply open a blank word document, fill your screen and up the brightness on your monitor and place your paper against the screen. Gently sketch out the edges of your design. Then place your paper back on the table before shading it all in. - Turn your drafting paper back over so that your design is facing up. Place your design on your watercolour paper and position it where you would like your painting to be.
- Take your pencil and trace over your design. You’ll need to apply some pressure; the harder your pencil lead, the more pressure you’ll need, but make sure you’re not pressing so hard that you dent your paper. Use your hand to hold both sheets of paper firmly.
Best Advice: I generally use a 3B/4B pencil for shading, as I find they has the perfect balance of darkness / hardness for this method. Having said that, if you do choose a softer, darker pencil like an 8B or 9B, just remember you’ll need to use less pressure to get your design onto the watercolour paper. Also be aware not to drag your carbon paper over your watercolour paper, as it can leave pencil smudges. - Before lifting your hand: without removing your hand, lift a corner to check how clear your design is and that you haven’t missed anything. Adjust accordingly.
If your pencil lines are too dark, simply use a putty eraser (or bluetack!) to lighten the lines. Ideally, you want faint lines that you can see but won’t show through your watercolour washes. Remember, you won’t be able to lighten or rub out pencil lines after you’ve started painting.


